Your First Button
Open any note and drop in a fenced code block tagged agent-button:
```agent-button
text: Summarize this note
prompt: Summarize {{file.basename}} in three bullet points.
```
Switch to Reading view (or just look at it in Live Preview — it renders identically in both) and you'll see a single button:
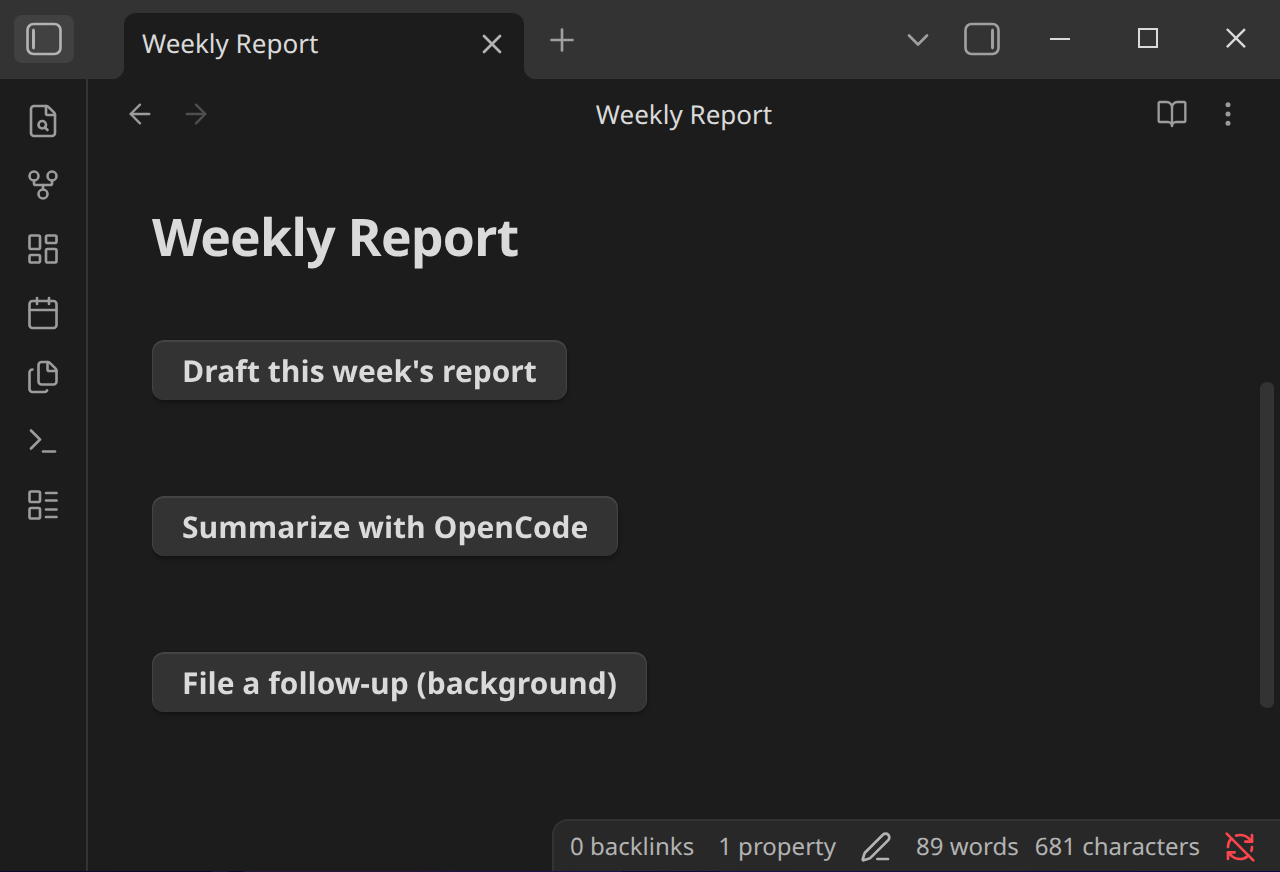
Click it. A terminal accordion opens underneath, running whichever CLI is set as your Default Agent (see Settings Reference) with that prompt as its first message — real ANSI output, colors and all, and you can type directly into it to answer prompts or approve tool calls.
Making it do something specific
Two fields are doing the work here:
text— the button's label.prompt— what gets sent to the agent.{{file.basename}}is a context lookup — it's replaced with the current note's filename before the agent ever sees it, so the same button block works unmodified in every note you paste it into.
Everything else is optional and falls back to a sensible default — see All Fields for the complete list. A more realistic button, pinned to a specific agent and model, with its output written into the note instead of left in a terminal:
```agent-button
text: Draft this week's report
prompt: Draft a weekly report for {{file.basename}}, using the notes tagged #weekly-log from the last 7 days.
agent: ClaudeCode
model: myMainModel
agentOutput: file
append: belowButton
showTerminal: false
completion: responseEnd
```
model: myMainModel only resolves to something real once you've configured a mapping by that name in Settings — see Model Mappings. Until then it's passed straight through as a literal string, which most CLIs will reject as an unknown model — harmless while you're first wiring things up, but worth setting up before you rely on it.
Next
- All Fields — the complete
agent-buttonspec. - Context and Templating — everything a prompt can reference, plus the opt-in expression language.
- Examples — copy-pasteable blocks for common workflows.